Recipe courtesy of Amanda Byram for TBSeen.com, smart shopping website packed with cashback offers and deals

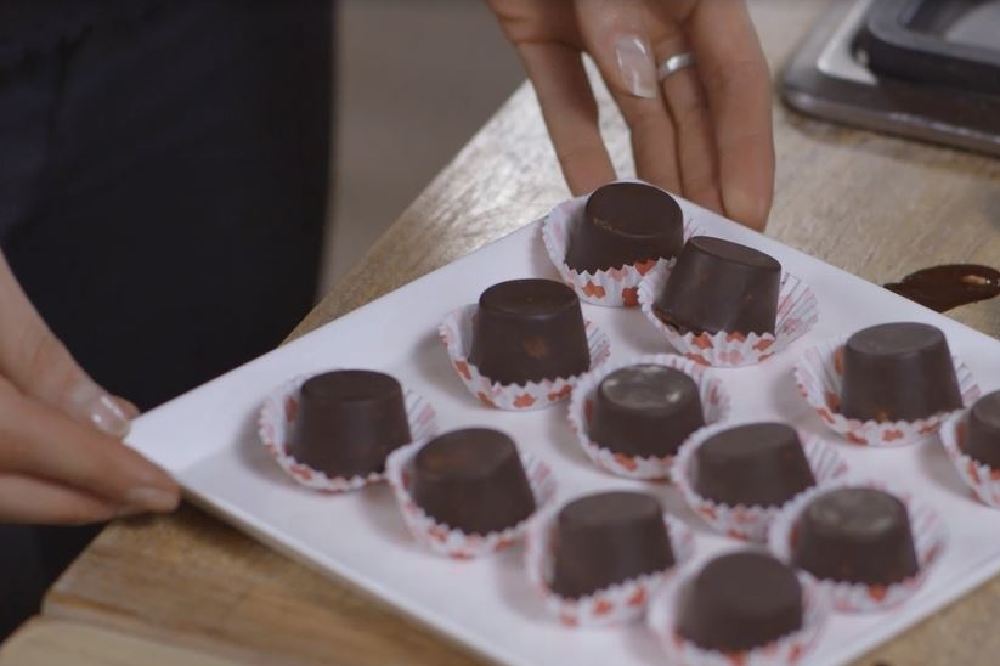
Homemade Vegan Chocolate Recipe
Ingredients:
- 100g of cacao butter
- 1 teaspoon of coconut oil
- 5 handfuls of mixed crushed nuts
- 2 handfuls of coconut flakes
- 1 tablespoon of Goji berries
- 2 tablespoons of dried mulberries
- 1 tablespoon of cinnamon powder
- 6 tablespoons of cacao powder
- 2 tablespoons of coconut /agave syrup
- A pinch of Himalayan pink salt crystals
- 1 tablespoon of vanilla essence
Extra equipment:
- Silicon ice cube/chocolate mould
Method:
- First, melt 100g of cacao butter in a bowl over a saucepan of hot water.
- While the cacao butter is melting, in a separate frying pan melt a teaspoon of coconut oil.
- Blend some nuts of your choice in a food processor (or crush with a rolling pin) and toss into the pan with the coconut oil. Fry until nicely toasted: they'll give the chocolate a crunch.
- Next add the coconut flakes, Goji berries and dried mulberries to the pan (Mulberries are a fantastic source of antioxidants).
- Into the pan, sprinkle the cinnamon powder and stir the mixture until everything is toasted. Careful of the mulberries and the Goji berries - they will toast quicker and burn really easily.
- In the meantime, put 6 tablespoons of cacao powder into your melted mix of cacao butter.
- Next add 2 tablespoons of the sweetener of your choice to the cacao mix. I like to use coconut syrup - it's a wonderful alternative to sugar.
- Add a pinch of my special ingredient, Himalayan pink salt, which will give the chocolate a nice kick at the end.
- Then add the vanilla essence to the cacao mixture, and you have your chocolate mix (can you resist licking the spoon?)
- When your nut and berry mix is ready, pour it into your chocolate mix.
- Very gently pour the chocolate mixture into your silicon chocolate or ice cube mould and pop it into the freezer for ten minutes and finally, into the fridge.
- Remove when set … and enjoy your guilt-free chocolate!
Recipe courtesy of Amanda Byram for TBSeen.com

